Sunhats~
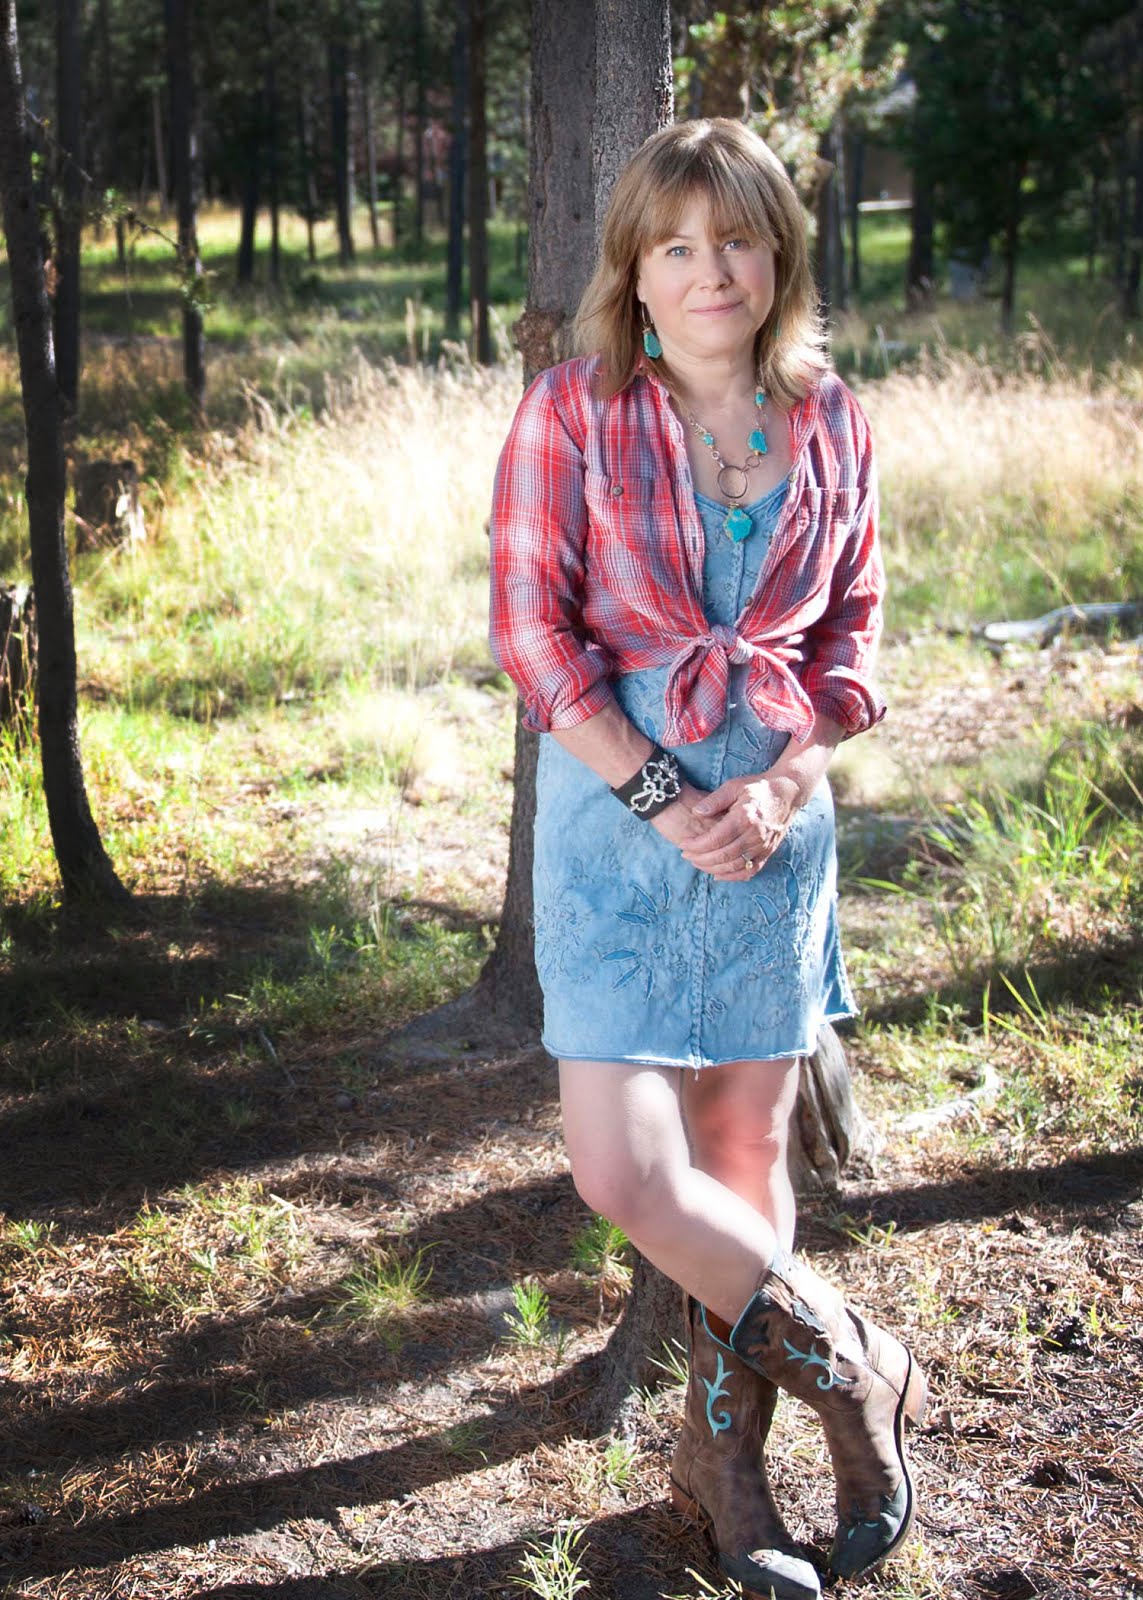
My Little Grandma always wore a sunhat, gloves, and long sleeves when she was out gardening ~ the original sun protection before sunscreen was the norm. Her lightweight, red plaid, peter pan collared blouse hung in her alcove closet. This unusual closet had a large picture window. I vividly remember her standing there, backlit in the sunlight, slipping her gardening shirt over her day clothes. This was the signal for me we were going out to the garden to gather some roses, or do some pruning, or mowing, or just putter around. Her hat and gloves were on the porch next to the pruners, on the way out the back door.
Lillian Beatrice Overmyer (my Little Grandma) had the most beautiful skin. People would often comment about it. She took care of it, washing it every night and religiously applying cold cream or some other "magic potion", and of course always, always insisting on her sun protection by donning her hat, gloves and shirt. Smart lady.
I find myself these days in need of a sunhat or two, and so I decided to try out some patterns and embellish in the
Alabama Chanin mode. The brim needs extra stability by adding interfacing, thus the normal reverse applique or negative reverse applique won't do. You would see the interfacing when you cut the layers, so I decided to go with the inked and quilted method or just leaving the fabric unembellished. You can find the inked and quilted method in
Alabama Studio Style, by Natalie Chanin.
I downloaded the reversible sunhat pattern from the
Martha Stewart website. It was not the easiest pattern download to figure out, but I finally puzzled it together. Since I wasn't doing a reversible sunhat, I didn't follow their directions exactly. I tried a few different modifications to the pattern, and decided that cutting the brim down by 1" suited the cotton jersey fabric weight best for me. I also cut the pattern down for a 1/4" seam allowance instead of their 1/2" seam allowance.
I made a few different versions using scrap fabric and old t-shirts. I found that some type of interfacing is absolutely necessary, unless you want the brim to fall onto the face, thus making the wearer resemble Cousin It. I sampled four different interfacings. At first I tried pennant felt. It was way too heavy and stiff. The second was a double-sided, fusible, midweight interfacing by
fast 2 fuse. It was very convenient, would work in a pinch, but a little too stiff for what I wanted. I may eventually try the lightweight version. Then I tried two single-sided fusible interfacings by pellon,
Craft-Fuse style #808 and
809 Decor Bond. I liked them both, with a slight preference for the first, #808. It has the body I want, but is a smidge less stiff. Follow the directions on whichever interfacing you choose. I suggest ironing the interfacing onto a non-painted layer (the under layer) of the brim, or else protecting your iron and/or ironing board as some paints may come off during the ironing/fusing process.
The hat pattern is large and generous. It's very flattering on, but if there's any wind, it may sail off your head and bound on down the road. I stitched a casing around the crown, and made a pull to create a drawstring. It can be cinched down on a breezy day or left loose for more airflow and comfort on a still day. It's a functional feature, and it looks pretty cute! The casing is 1 1/4" wide, cut across the grain.
I wanted to leave the edges raw, but noticed that the interfacing is visible between the two layers of the brim, even if the interfacing is cut a little smaller (about 1/4") than the actual brim. I whipstitched the edges on the blue embellished hat, and that worked just fine. I'm going to experiment a little more and try cutting the interfacing even smaller (about 1/3") and see if that helps, as I like the look of the raw edges.
Once you get a working pattern, the hat works up very quickly. I hope you can stitch up a new summer sunhat for yourself or a friend this summer. If she were still with us, I know my Little Grandma would approve.